Published 4 min readTechnical guide
A production-ready blow mold must fit the container, the material and the machine. Its cavity geometry, pinch-off, venting, cooling circuits and mounting interfaces work together with the parison and forming process. Machining accuracy matters, but it is only one part of a mold that repeatedly makes accepted containers.
This guide draws on Tongda’s mold-workshop material and translates it into the design inputs, inspections and trial records a buyer should request when ordering extrusion blow molding tooling.
Begin with a complete design brief
Provide a dimensioned product drawing, resin grade, target weight, neck and closure details, appearance requirements and functional tests. Identify dimensions that matter to filling, capping, stacking or assembly.
The mold designer also needs the machine’s platen and mounting layout, opening range, head spacing, transfer movement, blow-pin arrangement and utility interfaces. Check the full mold assembly and access for changeovers, not only the cavity dimensions.
| Design area | Design brief |
|---|---|
| Container geometry | Critical dimensions, neck finish, parting line and handling features |
| Material and wall | Resin, target weight, critical wall sections and layer requirements |
| Pinch-off and deflashing | Bottom seam, flash pockets, cutting method and waste removal |
| Cooling and venting | Circuit layout, available water conditions, air escape and maintenance access |
| Machine interface | Mounting, mold envelope, blow pins, stroke and auxiliary connections |
| Acceptance | Measurement method, trial conditions, sample count and pass criteria |

Design cooling around the difficult sections
The neck, handle, L-ring, corners or thick pinch-off may cool differently from the main wall. Identify those regions during design and establish how the circuits remove heat without creating avoidable temperature differences.
Water temperature, flow, circuit balance and water quality affect performance. Channels also need cleaning and maintenance access. Mold cooling manages heat removal from the formed part; it does not directly control melt flow inside the extrusion head.
Tongda’s workshop account describes a 200 L drum project in which cooling near the opening and ring, additional venting and process adjustment accompanied a reported cycle change from 180 to 125 seconds. This is a project observation involving mold and process changes together. A new capacity commitment needs the actual drum weight, resin, utilities and accepted-output trial.
The 200 L L-ring drum guide explains the associated wall-distribution and package checks.
Machine, finish and inspect the mold
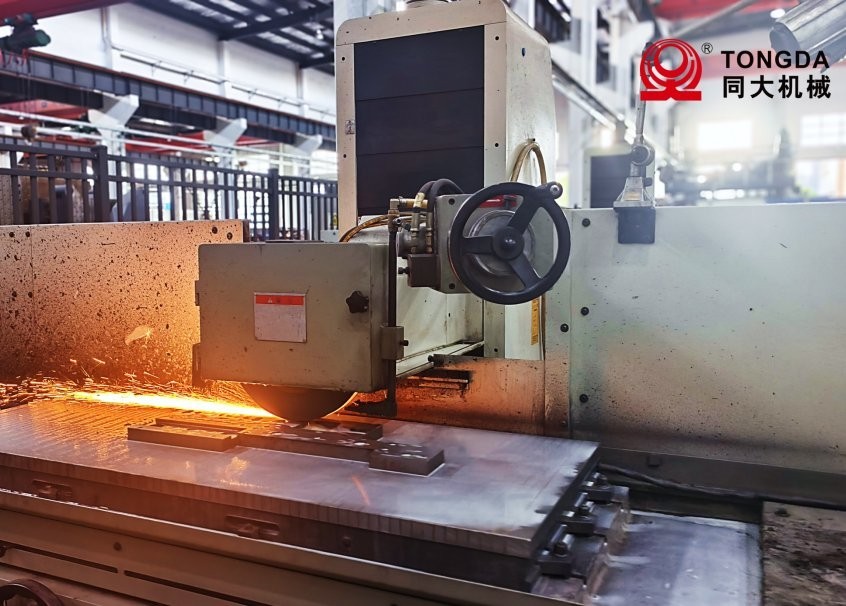
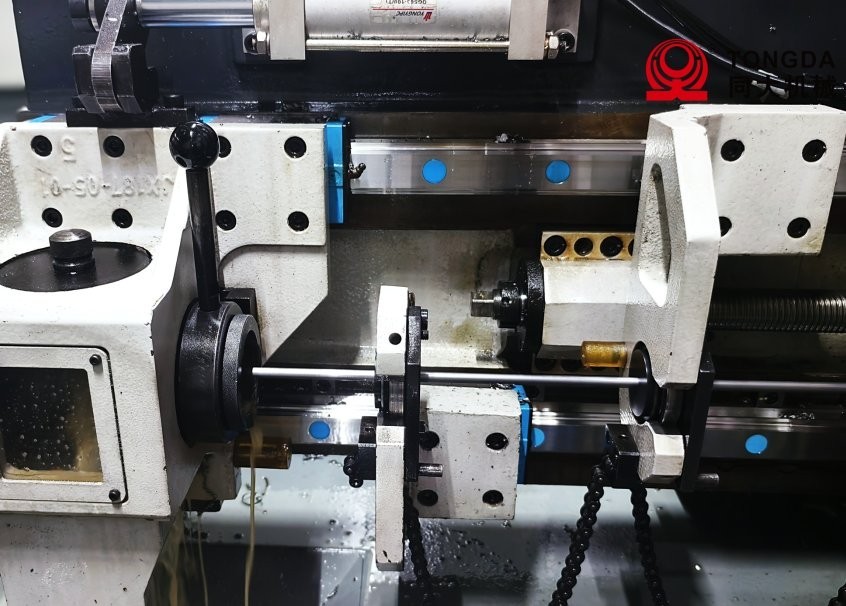
Tongda’s account describes machining centers, engraving and deep-hole drilling as part of its tooling workflow. Specify the material, achievable tolerances and surface finish for the actual mold and product; different parts of the tool can need different inspection methods.
Check critical dimensions, alignment, inserts, mounting surfaces and the condition of the pinch-off and venting features. Cooling circuits need leak and flow checks. A smooth circuit does not eliminate the need to control water quality or prevent deposits through maintenance.
Dimensional and material inspection should be followed by a functional trial. A tool that matches the drawing still needs to demonstrate how it forms the intended bottle or container on the selected machine.
Validate the mold on the intended production setup
Use the agreed resin, tooling, machine and utility conditions. Record the process recipe and inspect parts after a defined stabilization period.
The parison program can be adjusted to support critical sections, but a programmed profile is not proof of final wall distribution. Verify container weight and section thickness alongside dimensions and functional tests. MOOG’s blow molding guidance explains the role of parison-control technology.
For a large container, include handling and downstream operations in the trial. The IBC inner-bottle process guide shows why closure, outlet, cage and base interfaces also affect project acceptance.
Keep an acceptance and handover record
- Drawing revision: record the approved product and mold drawings and any trial changes.
- Inspection: retain critical-dimension, material and cooling-circuit records.
- Trial conditions: identify the resin lot, machine, recipe, cooling and air conditions.
- Product results: record weight, wall sections, appearance, neck fit and agreed functional tests.
- Production results: record accepted parts, rejects, cycle definition and interruptions.
- Handover: include connections, spare inserts, maintenance instructions and ownership of future changes.
Assign responsibility for interface problems between the mold, machine and downstream equipment. A combined machine-and-mold supplier can coordinate the work, but the deliverables and acceptance responsibilities still need to be written down.
Questions mold buyers ask
Can an existing blow mold run on a different machine?
Possibly. Check the mold envelope, mounting, opening range, head spacing, blow pins, utilities and process requirements. Physical fit alone does not establish product quality or output.
Does better cooling always shorten the cycle?
It can address a cooling bottleneck, but the total cycle may be limited by extrusion, handling, venting or downstream operations. Check the entire sequence and accepted-part quality after each change.
Is a machining inspection enough for acceptance?
No. It establishes that specified tool features were made and inspected. A functional production trial demonstrates the mold’s performance with the agreed product, material, machine and utilities.
Review your mold and machine requirements
Send the product drawing, resin, target weight, required accepted output and available machine details. Request a tooling and machine review to establish the interfaces and trial plan before ordering. Browse the blow molding machine range for related equipment.