 Eileen Yu, Vice General Manager
Published Updated 5 min readTechnology
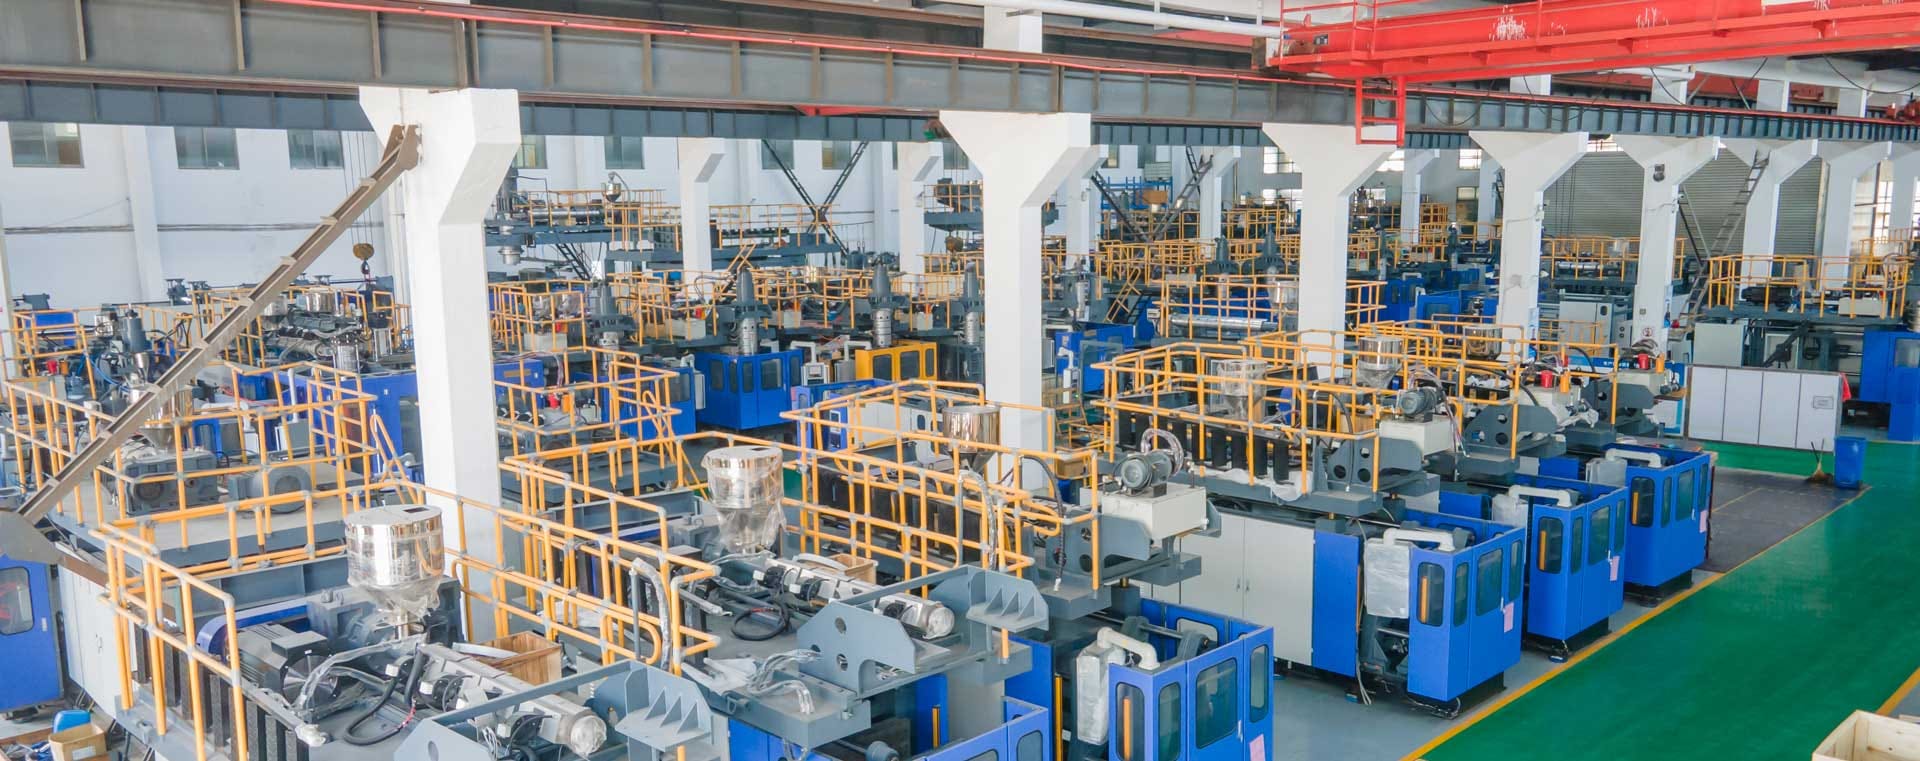
Blow molding forms hollow plastic products by expanding a heated tube or preform inside a mold. The three main routes are extrusion, injection and stretch blow molding. This guide explains their working principles and selection criteria. For equipment specifications and model comparisons, see our blow molding machine range.
What is blow molding?
Blow molding uses air pressure to push softened thermoplastic against the walls of a closed mold. The mold defines the outside shape; the starting material, temperature and stretching behavior influence the wall distribution. Cooling then makes the container rigid enough to remove without losing its shape.
The processes differ mainly in how they prepare this starting shape. Extrusion produces a hanging hollow tube, called a parison. Injection forms a preform around a core rod. Stretch blow molding stretches a conditioned preform lengthwise as air expands it outward. These differences affect material choice, neck geometry, possible handles and production layout.
A good part must satisfy more than appearance. Check the neck and closure fit, minimum wall thickness, leak resistance and dimensions after cooling. Depending on its intended use, the container may also require drop, stacking or chemical-compatibility testing. The process alone does not establish that a finished package is suitable for a particular application.
Extrusion blow molding
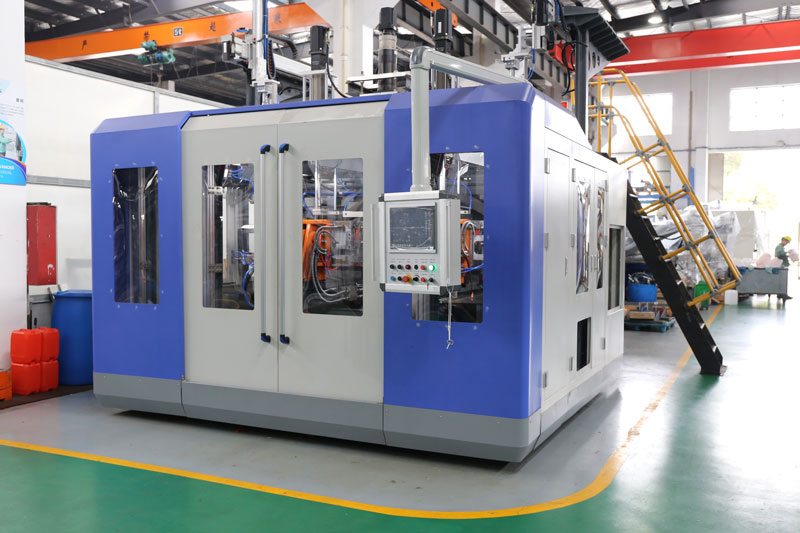
Extrusion blow molding is widely used for HDPE and suitable PP grades. Typical products include bottles, jerry cans, drums and IBC inner bottles. It accommodates integrated handles and varied container shapes, although each design still needs appropriate tooling and material trials.
The basic sequence has five stages:
- Form the parison. A screw melts and conveys the resin through an annular die. The resulting hollow tube must remain stable while hanging between the open mold halves. Die-gap programming can vary its thickness along its length to distribute material where the container needs it.
- Close and clamp the mold. The halves close around the parison and pinch it together at the required locations. Pinch-off geometry matters because it influences the welded seam and the amount of excess material.
- Inflate. Compressed air expands the hot parison against the cavity. Air delivery and mold venting must let the material reproduce the intended shape without trapped-air defects.
- Cool. Mold cooling removes heat until the part can be released. Uneven cooling can contribute to distortion, so cooling channels and cycle settings need attention alongside extrusion conditions.
- Trim and inspect. Remove flash around the pinch-off and opening where necessary. Inspect the neck, seam and wall distribution, and check for leaks before accepting the product.
Continuous extrusion and accumulator-head arrangements manage the delivery of the melt differently. The choice depends on the part weight, resin behavior and required production sequence. Our extrusion blow molding guide connects these process requirements with equipment selection.
Injection blow molding
Injection blow molding first injects molten resin into a preform mold around a core rod. This stage forms the neck finish as well as the starting shape of the body. The hot preform stays on the core rod while it transfers to the blow mold. Air then expands the body, the container cools, and the finished part is stripped from the rod.
This route is commonly considered for small bottles where neck dimensions, repeatable weight and closure fit are important. Suitable polyethylene and polypropylene grades can be used. Material suitability must be confirmed for the particular tooling and product requirements.
Unlike extrusion, the process does not start with an open hanging tube that must be pinched closed at the base. It can produce a finished neck without the same flash-trimming sequence. However, preform design, core-rod temperature and the balance between injection and blowing remain critical. Integrated handles and very large containers are generally better evaluated through other routes.
Stretch blow molding
Stretch blow molding is particularly associated with PET bottles. A stretch rod extends a temperature-conditioned preform axially while air expands it radially. This controlled stretching orients the polymer and helps achieve the required strength and wall distribution. Results depend on preform design, heating and stretch conditions; they are not guaranteed simply by choosing PET.
In a one-stage process, preform injection, conditioning, stretching and blowing are integrated into one production system. The process uses heat retained from injection, with temperature conditioning before blowing. This arrangement requires the injection and forming stages to work together.
In a two-stage process, preforms are injection molded and cooled first. They can be stored or transported before a separate system reheats and stretch-blows them. This separates preform supply from bottle forming, but adds decisions about preform storage, reheating and compatibility with the intended bottle.
For either route, check the neck finish, preform weight, stretch ratios and final bottle performance. A beverage bottle, a hot-fill package and a household-product container can have different requirements even when their nominal capacity is similar.
How to choose between the three processes
Start with the product drawing and intended use, then compare the processes against the actual specification. Nominal capacity alone is insufficient: a handled chemical container and a clear beverage bottle need different manufacturing solutions.
| Selection factor | Extrusion blow molding | Injection blow molding | Stretch blow molding |
|---|---|---|---|
| Typical materials | HDPE and suitable PP grades | Suitable PE and PP grades for small containers | PET for many bottle applications |
| Container size and shape | Small bottles through large drums and IBC inner bottles; handles are possible | Usually small bottles with a defined neck finish | Bottles matched to a suitable preform and stretch geometry |
| Output planning | Consider part weight, cavities, extrusion capacity and cooling | Balance injection, blowing and ejection across the tooling | Balance preform supply, heating and blowing; distinguish one-stage from two-stage |
| Precision priorities | Wall distribution, pinch-off seam, trimming and dimensions after cooling | Neck finish, preform consistency and core-rod temperature | Preform geometry, temperature profile and stretch distribution |
Compare output as accepted containers per hour, using the same product specification. Cavity count or a quoted cycle time cannot by itself account for rejects, changeovers and downstream handling. Establish a trial procedure that measures accepted output alongside weight, dimensions, leak resistance and the required mechanical tests.
Before selecting a route, prepare the material grade, container drawing, closure details, target production quantity and acceptance criteria. That gives the supplier a concrete basis for recommending tooling and a production arrangement, while keeping the decision focused on the finished container.